This section focuses on the Nexpose tool, which has been developed by Rapid7 – the same organization that created Metasploit and Metasploit Community. Like Metasploit Community, Nexpose features a web-based graphical user interface and is used to identify vulnerabilities and map them to existing exploits. The key difference between the two tools is that while Metasploit Community only displays exploits that can be utilized within Metasploit, Nexpose provides information on exploits published elsewhere by organizations other than Rapid7 and Metasploit. It covers a broader range of vulnerabilities and can be used on a larger scale. Additionally, it enables users to generate reports at the end of a scan, which can be shared with technical staff or management. The tool also offers the option to schedule regular scans, which can be particularly useful for large infrastructure companies requiring weekly or monthly vulnerability assessments.
Nexpose is not included as a pre-installed tool in Kali Linux, and therefore it needs to be downloaded separately. In order to download it, we are required to provide our company name and email address, which must be associated with the organization.
Prior to installation, it is necessary to halt the PostgreSQL service that is currently running on Kali Linux. To accomplish this, the following command should be utilized:
![]()
Once the SQL service has been stopped, we will use the cd command to change the directory to Downloads. Upon executing the ls command, the Rapid7Setup-Linux64.bin setup file will be visible. The first step is to modify its permissions to executable using the chmod command, followed by the permissions to set (+x), and the filename, which in this case is Rapid7Setup-Linux64.bin. The command should be entered as follows:

In order to execute an executable in Linux, we must enter ./ followed by the filename, which in this case is Rapid7Setup-Linux64.bin. The complete command is:
![]()
Upon opening the program, an installation window will appear, as shown in the screenshot.
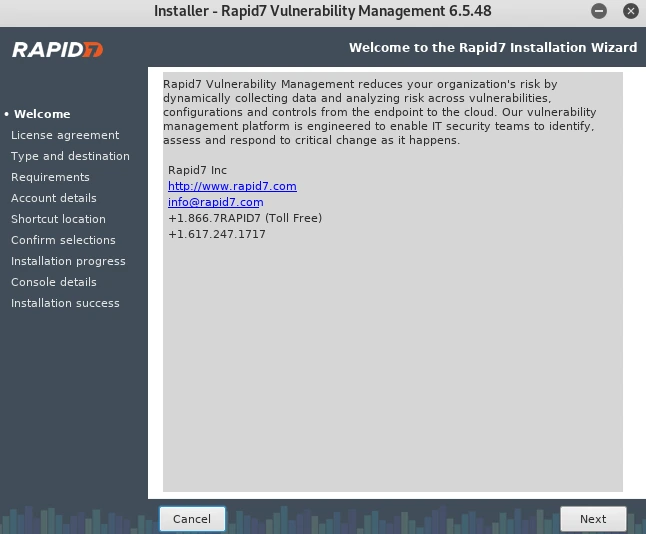
Follow the below steps to Install:
Step 1: After clicking on the ‘Next’ button in the screenshot above, the installation process will prompt us to accept the agreement. Upon accepting the agreement, we can click ‘Next’ again to continue with the installation process.
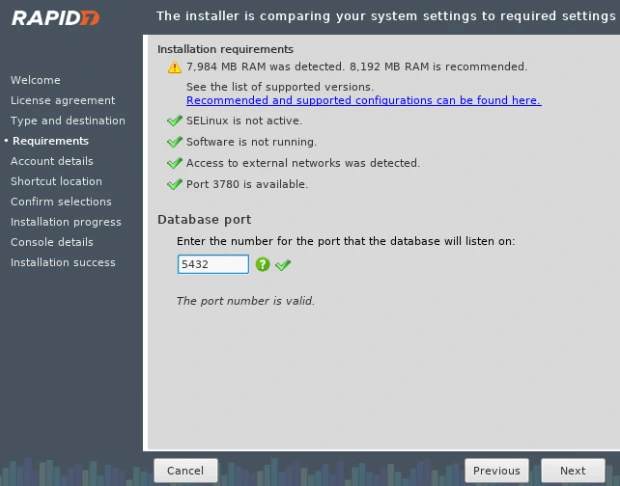
Step 2: The installation process will prompt us to enter the port for the database to be used with Nexpose. Since the default port of 5432 is already set, we will proceed by clicking on the ‘Next’ button.
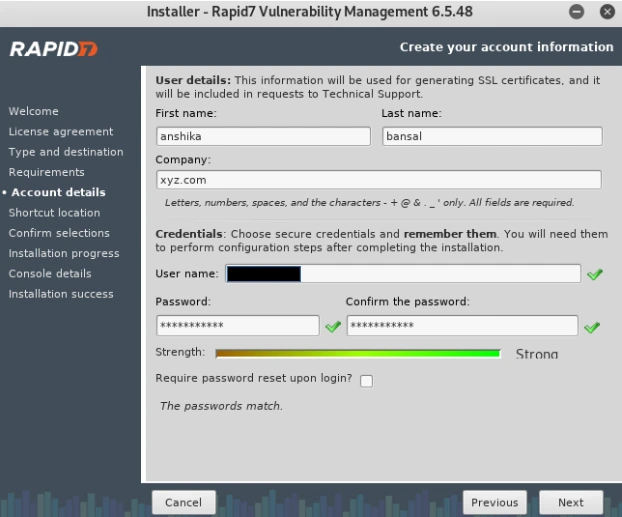
Step 3: Next, we will be prompted to provide our first name, last name, and company details, followed by our desired username and password. Once entered, we can proceed by clicking the ‘Next’ button.
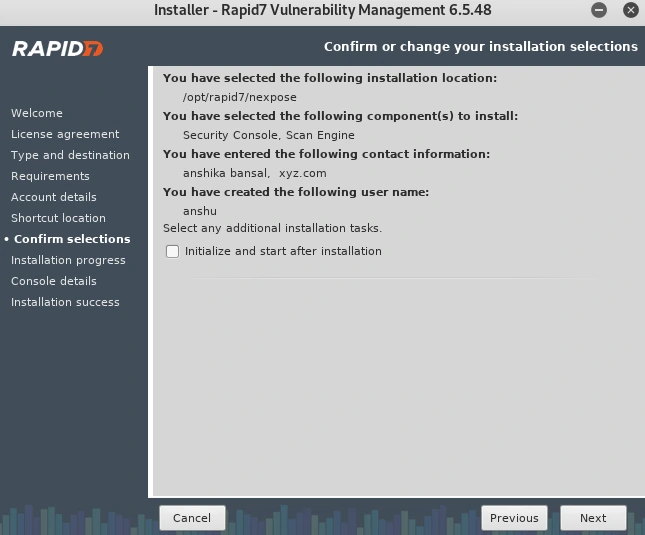
Step 4: During the installation process, we must ensure not to select the box shown in the screenshot below, as it can cause significant issues. Instead, we will proceed with the installation without selecting the box and launch the program separately when needed. Once the box is unchecked, we can proceed with the installation, and the program will be installed successfully.
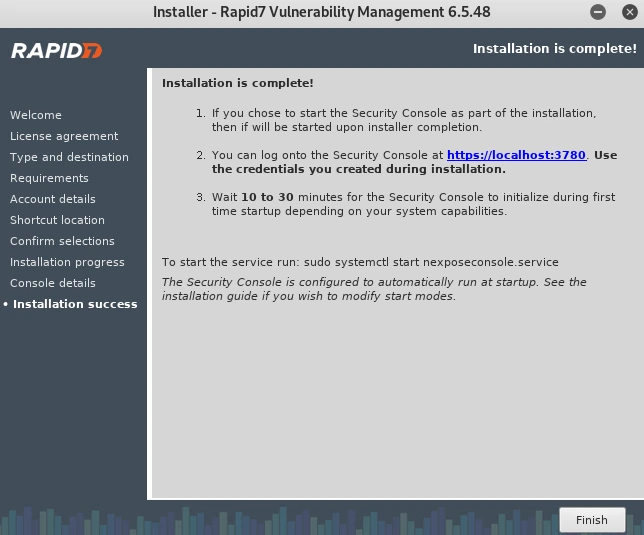
Step 5: Upon the completion of a successful installation, we can proceed by clicking on the ‘Finish’ button.
To know more details like Installing Nexpose, make sure that you follow us daily @ tutorials.freshersnow.com.
