
Nmap, short for Network Mapper, is a versatile program that can be used for a variety of purposes. With Nmap, we can obtain information about any device, whether it’s within our network or outside of it, just by knowing its IP. It can also be used to bypass firewalls and other security measures. In this section, we will explore some of the basic Nmap commands that can be used to discover clients connected to our network and the open ports on those clients. To facilitate our use of Nmap, we will be using its graphical user interface, Zenmap, which can be launched by typing “zenmap” into the terminal.
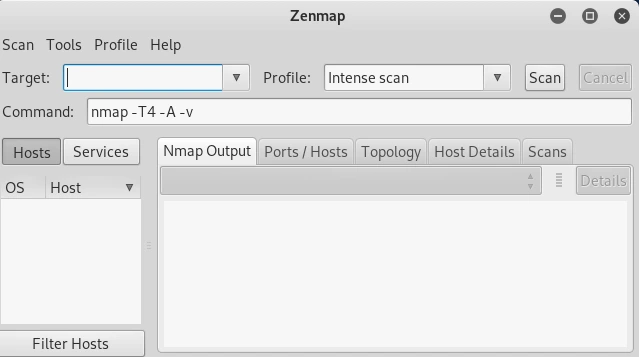
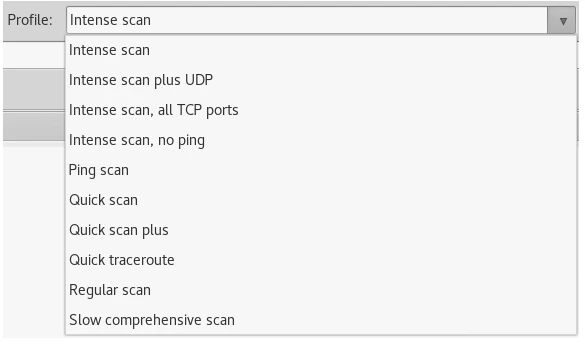
To specify our IP address, we will input it into the designated Target field. Within the Profile drop-down menu, a selection of profiles is available to choose from.
To gather information about a specific IP address, we can enter it in the Target field, or enter a range similar to what was done with netdiscover. In the example, the range entered is 192.168.1.1/24, and then the Ping scan is selected from the Profile drop-down menu before clicking the Scan button.
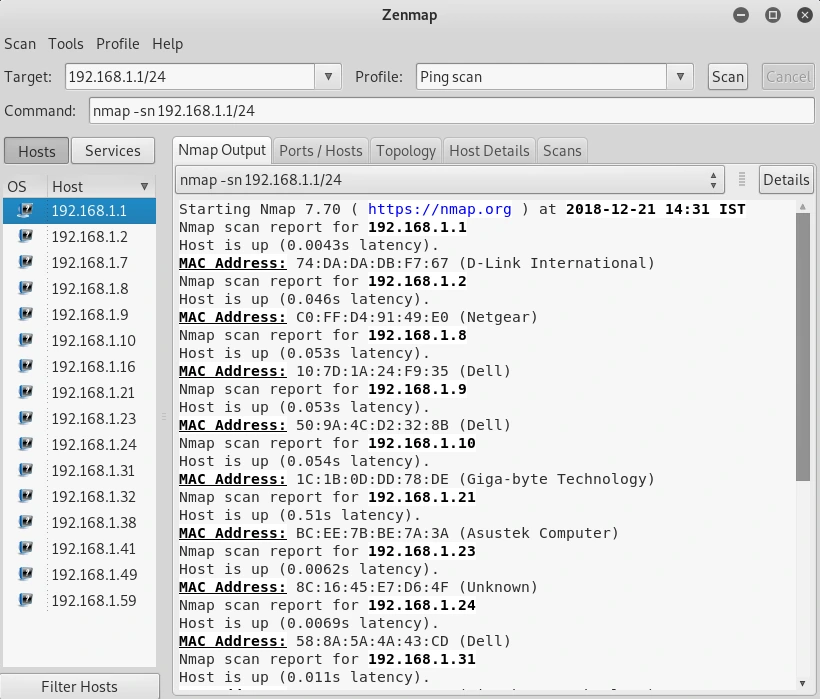
The aforementioned scan is a fast scan, providing limited information, as demonstrated in the associated screenshot. It merely displays the connected devices, rendering the scan swift and efficient. The left-hand panel indicates the connected devices, with their corresponding IP addresses, MAC addresses, and vendors.
The upcoming scan we’ll be covering is the Quick Scan. While it may not be as fast as the Ping scan, it offers more comprehensive results. With the Quick Scan, we can detect the open ports on every device.
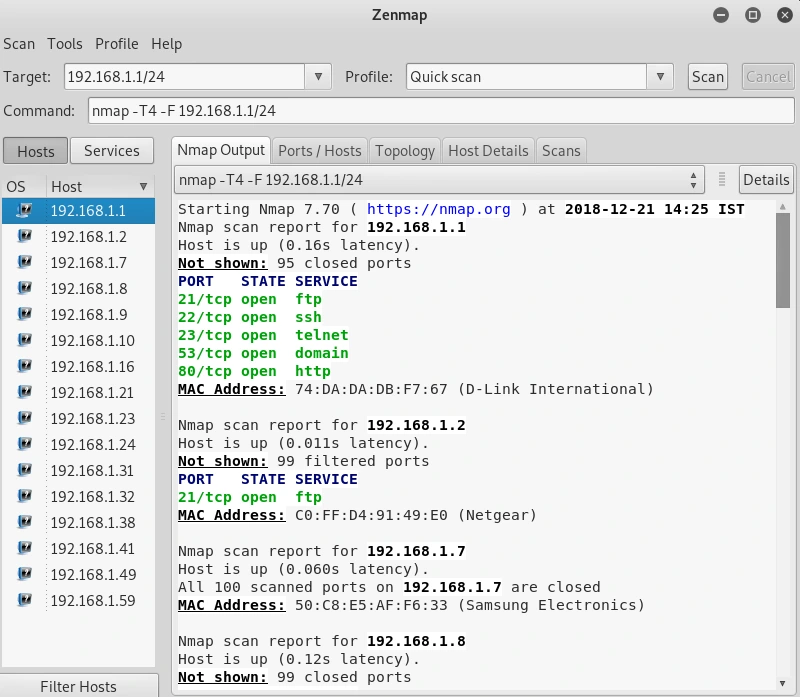
The provided screenshot reveals the open ports for each of the discovered devices. The primary router, for example, displays an open port designated as 53/tcp. The port 80/tcp, which operates on a web server, is employed for the router setting page.
Quick Scan Plus is the next level up from Quick Scan, and although it may be slower, it provides more detailed results. Quick Scan may have informed us that port 80 and 22 were open, but we had no idea which programs were running on those ports. While we knew that SSH was running on port 22, we had no information about the SSH server. Quick Scan Plus addresses these limitations and provides more comprehensive information, as seen in the accompanying screenshot. Although it takes more time than Quick Scan, it’s worthwhile as it provides a more detailed view of the scanned system.
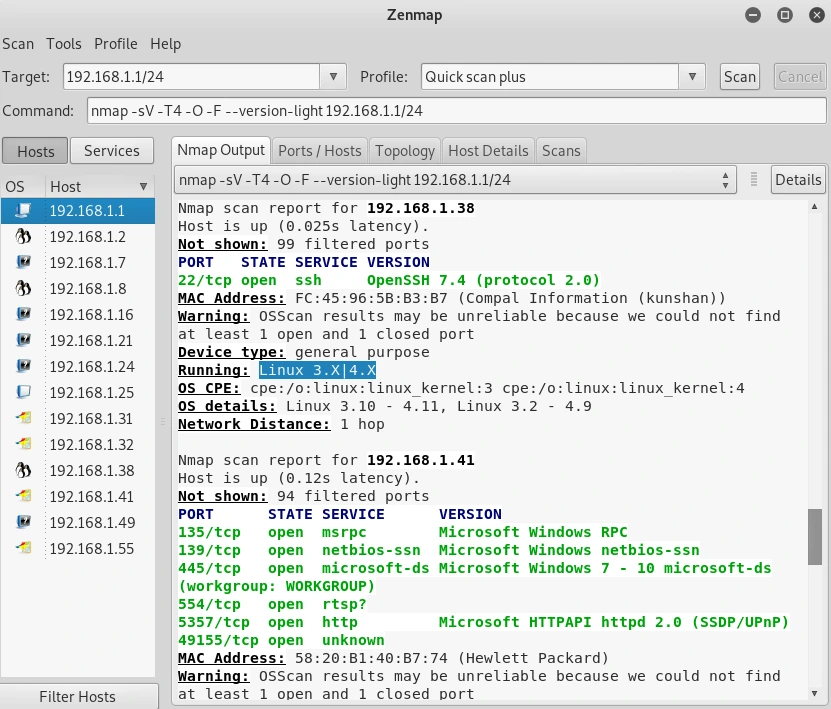
As shown in the screenshot, a Linux device is currently connected, and we have obtained details about the operating system and program versions. With a Quick scan, we were only aware that port 22 was accessible, but we now know that it’s operating on OpenSSH 4.7. Furthermore, we’ve discovered that the server is an Apache HTTP server version 2.2.8 and that it’s running on a Linux device. By having this information, we can now proceed with the search for possible vulnerabilities and exploits.
Consequently, we conclude our discussion on the subject of Zenmap. We encourage learners to continue their pursuit of knowledge in ethical hacking by following our site regularly @ tutorials.freshersnow.com, where they can find more valuable information on this and other relevant topics.