
The Nexpose has been successfully installed, let’s explore how to run the tool and its functionality. Since Nexpose utilizes its own database, we must first turn off the database of Kali Linux. Running both databases on the same port can cause conflicts between them. To stop the postgresql service, we can use the following command. It’s essential to remember to turn off our database before running Nexpose:
![]()
Next, we need to locate the directory where Nexpose was installed, which is typically at ‘opt/rapid7/nexpose/‘ unless the installation location was changed during the installation process. The ‘nsc.sh‘ file, which runs the server, can be found in the ‘nsc‘ directory.
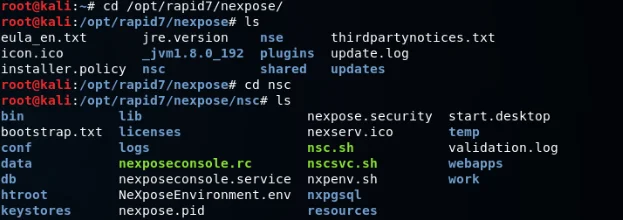
To execute the ‘nsc.sh’ file, we can use the following command, which involves entering ‘./’ followed by the filename ‘nsc.sh‘:
![]()
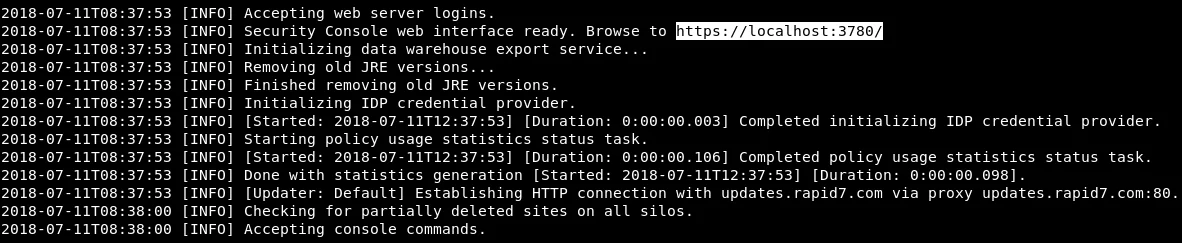
Running this command for the first time may take a while. Once the tool has loaded successfully, we’ll see a confirmation message stating that we can access it using the URL ‘https://localhost:3780‘, as shown in the screenshot below.
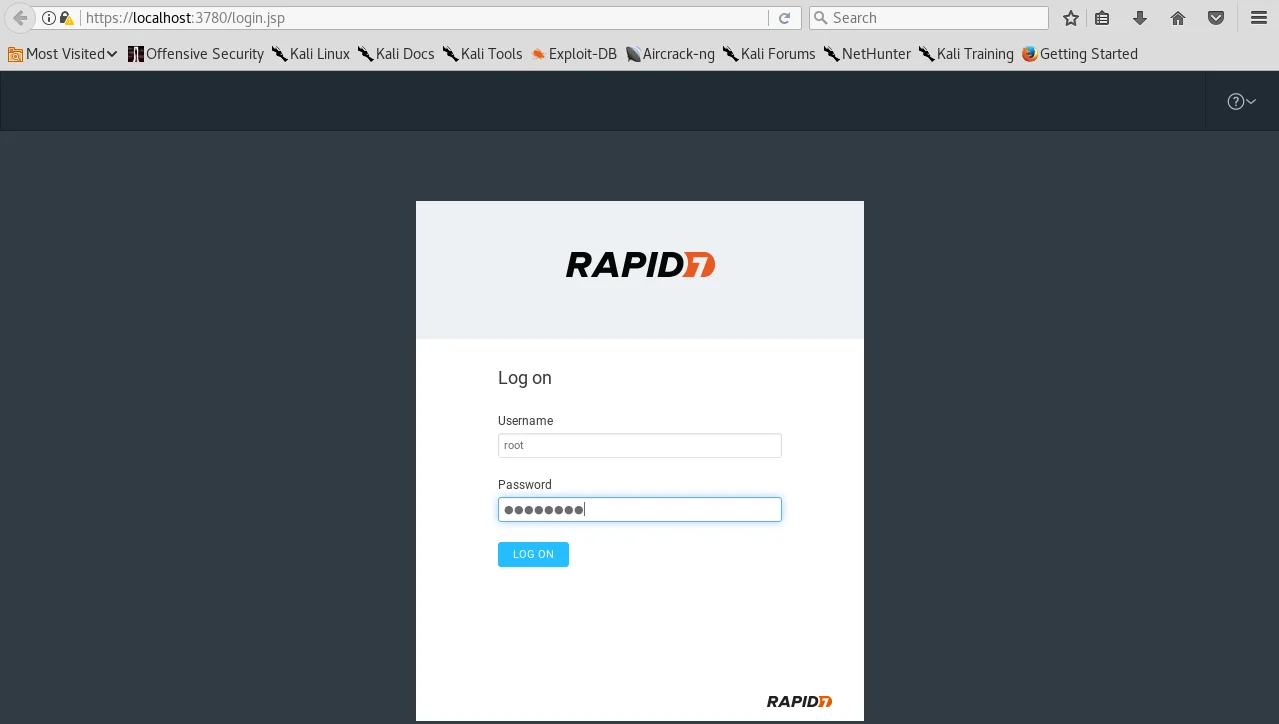
Next, we can launch our web browser and paste the URL provided by the tool. This will prompt us to enter the username and password that we created during the installation process.
Upon successful login, we may be prompted to enter the product key, which is shown in the following screenshot.
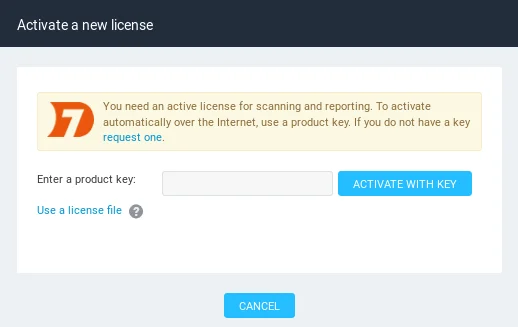
Since we downloaded the free version of the tool, we were required to fill out a form and provide our email address. The product key was then sent to our email, and we can retrieve it from there and enter it in the provided field. After entering the product key, we can click on ‘ACTIVATION WITH KEY‘ to activate the tool. Upon successful activation, we’ll see a confirmation message along with license information, as shown in the following screenshot.
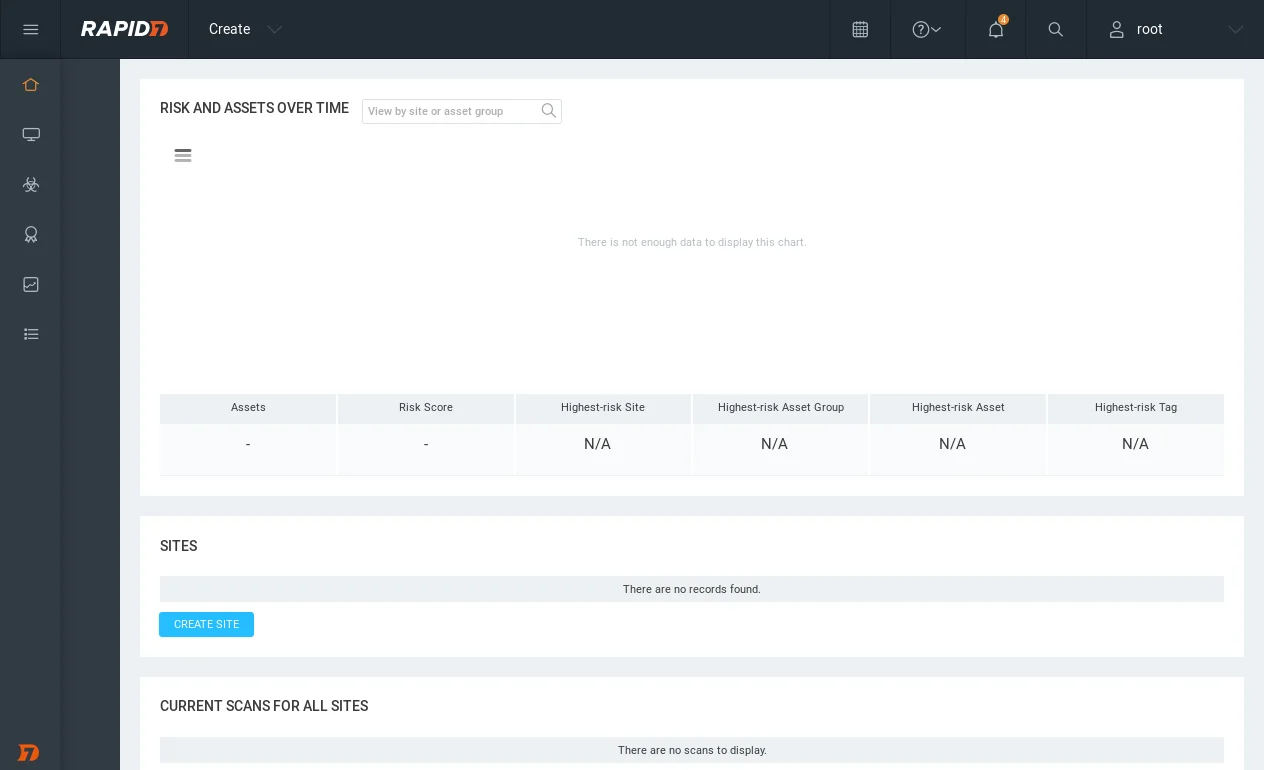
To proceed, we need to navigate to the “Home” tab on the left menu, then add a target and run a test. Firstly, we will select “Create” and choose “Site” to add the target.
Set the Name to metasploitable:

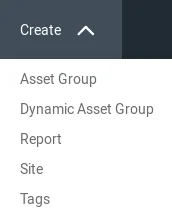
To add a target, we will navigate to the “ASSETS” tab and select the option to add a target. The target can include a range of IP addresses or a specific IP address. To add a specific IP address, we can follow the same steps we used when performing network penetration tests with Zenmap. For this example, we will target the Metasploitable machine with the IP address of 10.0.2.4, and we will assign it to a group named “test”.
If the target system requires some form of authentication, access to the system will be restricted unless the user authenticates with a particular service like FTP, Telnet, HTTP, or SQL Server. The user can provide the domain, username, and password in the “AUTHENTICATION” tab to allow the framework to authenticate and test the system’s security. However, since our server does not use any authentication mechanism, we don’t need this feature.
In case of a web application like Gmail, most of its features are only available after a user logs in with a valid username and password. By entering the login credentials in the “AUTHENTICATION” tab, the user can log in to the target web application and test its security.
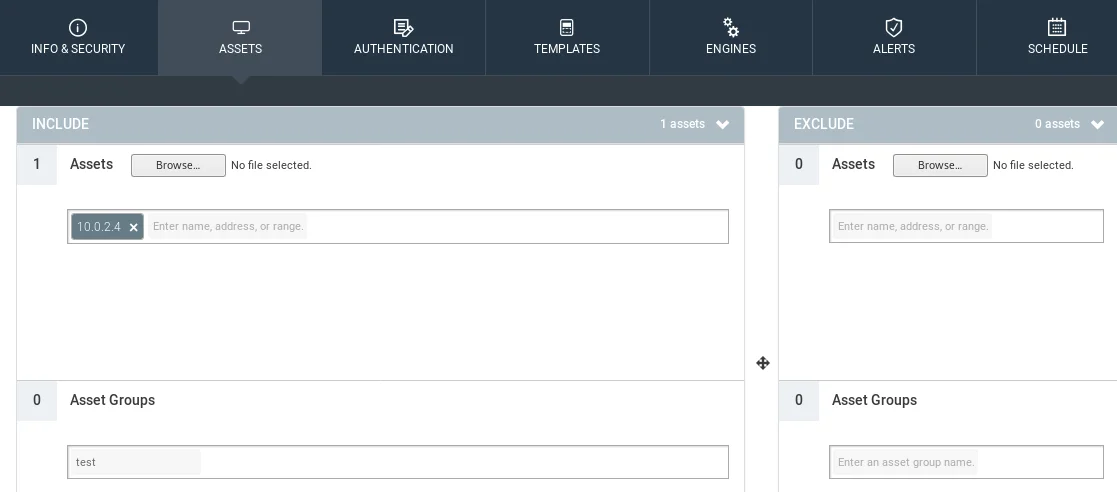
The “TEMPLATES” tab is where we can select the type of scan to be performed. The scan types available in this tab are similar to those in Zenmap, such as quick scan, quick scan plus, and intense scan. Each scan type has a unique profile that scans different aspects of the target system. For this task, we will choose the “Full audit enhanced logging without Web Spider” scan type.
A “Web Spider” is a software tool that can be used to discover all the files and directories on a target system. For this task, we will be using the default “Full audit without Web Spider” scan type, which will scan for ICMP, TCP, and UDP ports. We will not be using the Web Spider tool for this scan.
The “ENGINE” tab will be left as is, which means that the local engine installed on the system will be used instead of the one provided by Rapid7. The “ALERT” tab is used to set up custom alerts, which can be configured to notify us when a vulnerability is found during the scan.
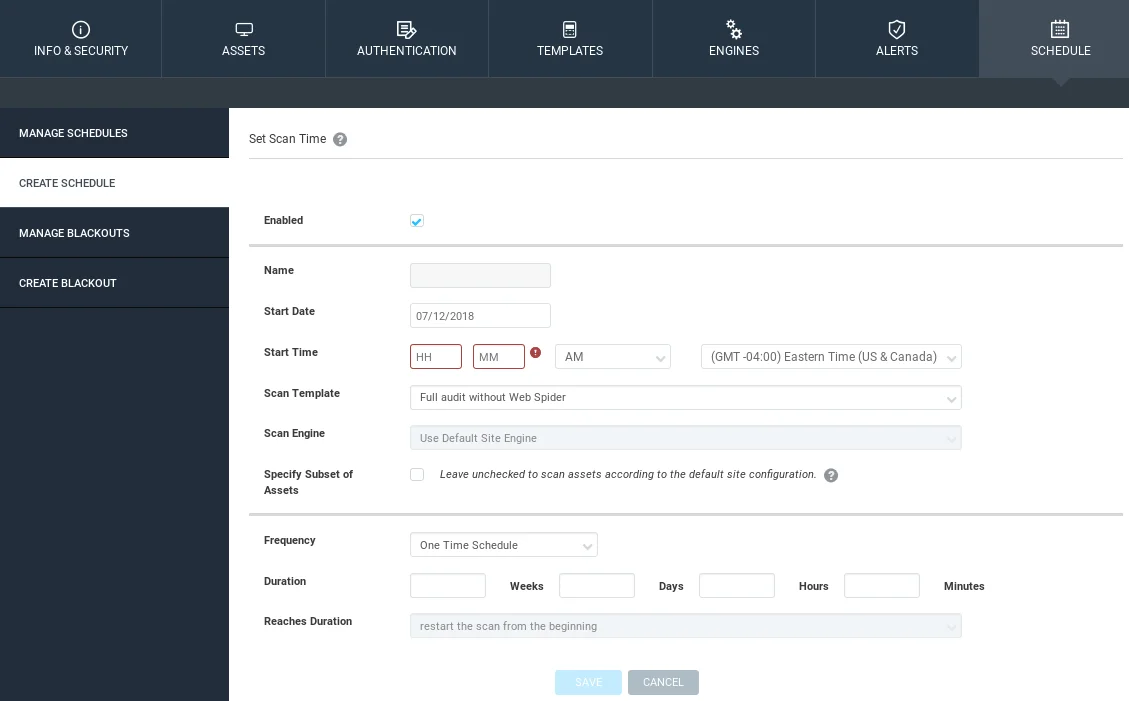
Moving on to the “SCHEDULE” tab, this is an essential feature for companies that push new code every day or run frequent scans to test the security of their systems. Even if our system is secure today, a new vulnerability can be discovered in the future, leaving us exposed. With this feature, we can schedule regular scans to run every hour, week, or month, depending on the criticality of the system.
To set up a schedule, we need to create a schedule using the “Create Schedule” option. We can set the “Start Date” and the frequency of the scan to run every day.
After setting up the schedule, the scan will run automatically at the specified interval, and a report can be generated for us to review.
To start the scan, the critical steps are adding our target to the ASSETS tab and selecting a template from the TEMPLATES tab. Once these tabs are configured, we can save the settings and initiate the scan by clicking on “Save and Scan” button. As shown in the screenshot, the asset discovery is currently underway, and we will discuss the scan results once it’s completed.
By this, we have concluded the topic regarding the Nexpose Scan. Know more about Ethical Hacking, by following us @ tutorials.freshersnow.com.